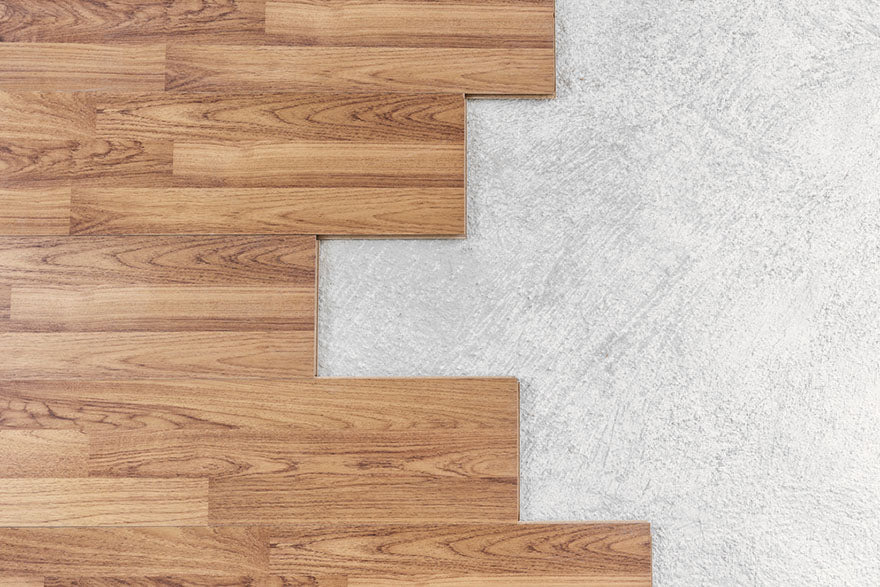
How to Install Vinyl Plank Flooring on Concrete
Source: Sasin Paraksa/shutterstock.com
Installing vinyl plank flooring on concrete can be a great way to upgrade your home's interior. It is a stylish and affordable solution that you can easily install yourself. It is a great way to add a modern and attractive look to your home and is easy to clean and maintain.
You can transform your home with simple steps and create a beautiful new space. In this blog, you’ll learn how to properly prepare the concrete, measure and cut the vinyl planks and install them correctly. You can enjoy a lovely new, attractive and long-lasting floor with a little effort. If you're not sure where to start on your home makeover, at WC Supply, we offer free kitchen design ideas.
What You Will Need for the Installation
Materials needed for installing vinyl plank flooring on concrete include:
- Vinyl planks: To cover the area you are installing in
- Underlayment (optional): To provide a layer of insulation and sound reduction
- Tape measure: To accurately measure the area you are covering
- Moisture barrier: To protect the vinyl planks from moisture seeping up the concrete
- Utility knife: To cut the planks to fit the area you cover
- Tapping block: To help click the planks together
- Spacers: To create a gap between the walls and planks
- Chalk line: To draw guidelines for straight rows of planks
- Adhesive: To secure the planks to the concrete, depending on the style of the flooring
- Hammer or rubber mallet: To secure the planks with the tapping block
- Carpenter's level: Helps ensure the foundation is level and smooth before installation
Measuring the Area
Before ordering your flooring, you'll need an accurate measurement of your space. Be sure to order extra because you'll need to cut some planks to fit the space. When you are deciding on what type of flooring you want to go with, you can order flooring samples to test out what might look the best in your room.
Start by measuring the length and width of the space with a measuring tape. Take these measurements in several areas, as rooms are rarely perfectly square. Make sure to measure the entire area, including any alcoves, corners or other irregular features.

Source: diy13/shutterstock.com
Preparing the Concrete for Installation
This step involves cleaning the concrete surface, ensuring it is level and patching any cracks or gaps. First, thoroughly clean the concrete surface to remove any dirt, dust and other debris that might interfere with the installation. You can do it with a vacuum, mop or a cleaning solution.
Next, ensure the surface is level. You can do this using a Carpenter's level to check for unevenness. If dips or hills exist, these can be filled with a self-leveling compound or other materials. You should also patch any cracks and gaps. You can do this using a concrete patching compound. Apply the compound in an even layer and let it dry before the installation.
At this point, you have the option of installing an additional underlayment. While the concrete itself can act as your underlayment, some will want extra cushioning and sound dampening.
Installing the Vinyl Planks
Begin by laying out the planks where you will be installing them. The exact installation method will vary depending on the type of flooring you're working with. For floating vinyl flooring, tap each plank into place with a rubber mallet so they will lock together. If using glue-on flooring, firmly press each plank to the concrete or other underlayment. You will need to cut some planks to fit. Be sure to measure at least twice and cut once.
Sealing and Finishing the Floor
The good news is that, with WC Supply flooring, you can skip this step. Our flooring is wear, stain and mold resistant. Some types of our flooring are also completely waterproof.
Order Flooring SamplesInstalling Cabinets
Cabinets are a great choice for any kitchen and bathroom remodeling project, and our ready-to-assemble (RTA) cabinets make it easy. Unlike traditional cabinetry, RTA cabinets can be quickly assembled without using complex tools or expert artisans. They offer a cost-effective solution to transform your space into the stylish and functional layout you have always desired.

Source: Justin_Krug/shutterstock.com
Conclusion
Now that you know how to install vinyl plank flooring on concrete, you're one step closer to achieving your home improvement goals. This guide provides easy-to-follow instructions so that even a beginner can successfully install vinyl plank flooring on concrete. With these tips, you can take on this project confidently and achieve professional-looking results.


