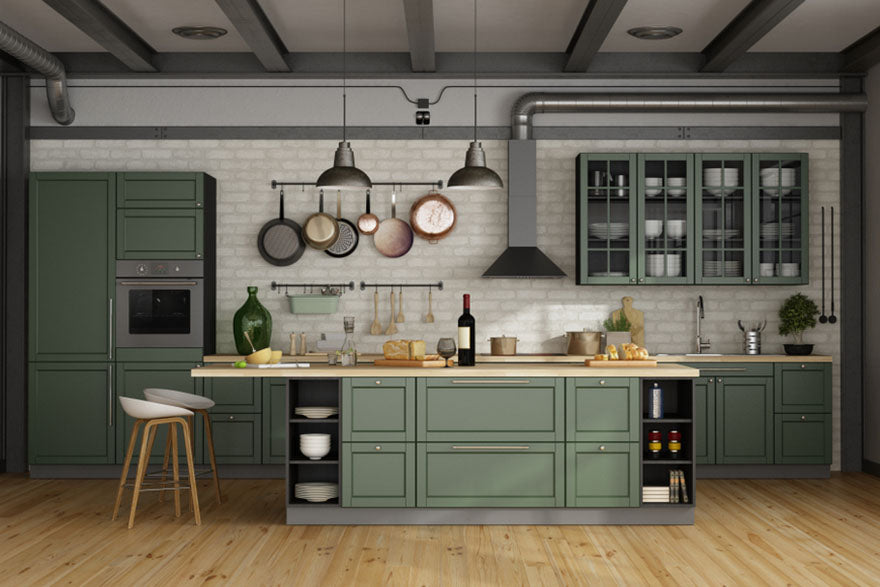
How to Remove Kitchen Cabinets
Source: archideaphoto/Shutterstock.com
Knowing how to remove kitchen cabinets offers you multiple advantages. First, you’ll be better prepared to plan your kitchen remodel when you know the steps involved. Second, making this part a DIY task will save you some money even if you hire professionals to handle the rest of your kitchen remodel project. If you’ve got a second pair of hands, you can accomplish this task in a half-day and make room for the stylish new European cabinets you’ve had your eye on for a while. Here’s what you need to know about how to remove your old kitchen cabinets.
Shop for RTA CabinetsImportance of Properly Removing Kitchen Cabinets
Whether you’re removing raised panel kitchen cabinets or making room for new ones, you need to take the proper steps to keep yourself, your kitchen, and the cabinets themselves safe during the removal process. Consider whether or not you need to turn off utilities to the room first, such as electricity, water, or gas. Protect flooring and countertops with coverings to prevent them from suffering damage, and empty all the cabinets of all items, including food, utensils, and dishes. If you’re doing pure demolition, remove the cabinet doors to make that easier. Remove the base cabinets first to have more standing room underneath the upper units.
Tools Needed for Removing Kitchen Cabinets
Safely removing kitchen cabinets requires another person, tools, and supplies. Given how bulky cabinets are, having at least one person to help you is necessary. Even if you’re strong enough to move them independently, two hands aren’t enough at certain moments. Having more than two people expedites the project as long as there’s good communication between everyone while you make room for your new Shaker cabinets.
Tools
- Drill bits
- Electric drill
- Flat pry bar
- Hammer
- Measuring tape
- Pliers
- Reciprocating saw
- Screwdriver
- Utility knife
- Wrench
Supplies
- Gloves
- Safety goggles
- Step ladder
- Support 2x4s
- Tarps
Remove the Base Cabinets

Source: ungvar/Shutterstock.com
The base cabinets rest on the floor, and removing them first makes it easier to access the upper cabinets. Most base cabinets have four or more screws in the back of the frame, and short screws attach to the adjacent cabinets. Pull all drawers off their pins, then place them out of the way. Remove the dishwasher, and detach the sink.
Cut away the caulk running along either the back of the counter or the backsplash. Use your pry bar to gently get the toe kick plate off, and then use your tools to unscrew the interior screws. Find the wall screws along the back of the cabinets, and remove those. Once everything is loose, you and your assistant should be able to lift the cabinets out. Lay them on blankets or towels somewhere in your home or take them out of the house entirely. Either way, remove them from the work area before proceeding to the upper cabinets.
Remove the Wall Cabinets
Wall cabinets usually have four or more screws holding each cabinet to the wall studs, and adjoining cabinets are held together using short screws. Remove any hanging appliances, such as a microwave, before anything else. Lift the shelves off their pins and set the shelves outside the work area. However, leave the pins in place. Locate the door hinge screws so you can remove them, and pull the doors off of the cabinets.

Source: Dmitry Kalinovsky/Shutterstock.com
Caulk is more likely on the base units, but cut through any connecting paint or caulk the upper cabinets have against the walls. Not all wall cabinets have side screws, but you need to remove those next if they are present. The back screws are the next thing to remove, but you need your assistant to hold the cabinetry firmly in place while you take all these out. Once they are all out, grip one side of the current cabinet while your assistant handles the other side. Lower the cabinet out of position, then store it where you put everything else.
Create Your Dream Kitchen
Knowing how to remove kitchen cabinets means you can make room for their replacements, and RTA cabinets might be your next DIY project once you’re done. If you remove your older cabinets carefully, you don’t have to throw them away. You can sell them on the secondary market or to a business, carpenter, or contractor. If you refinish them, you can repurpose them in another part of your home, such as a laundry room, mudroom, or bathroom. Take things slowly and safely to protect yourself, your home, and your cabinets throughout the process. Soon enough, you’ll create space for the future cabinets of your dream kitchen.


