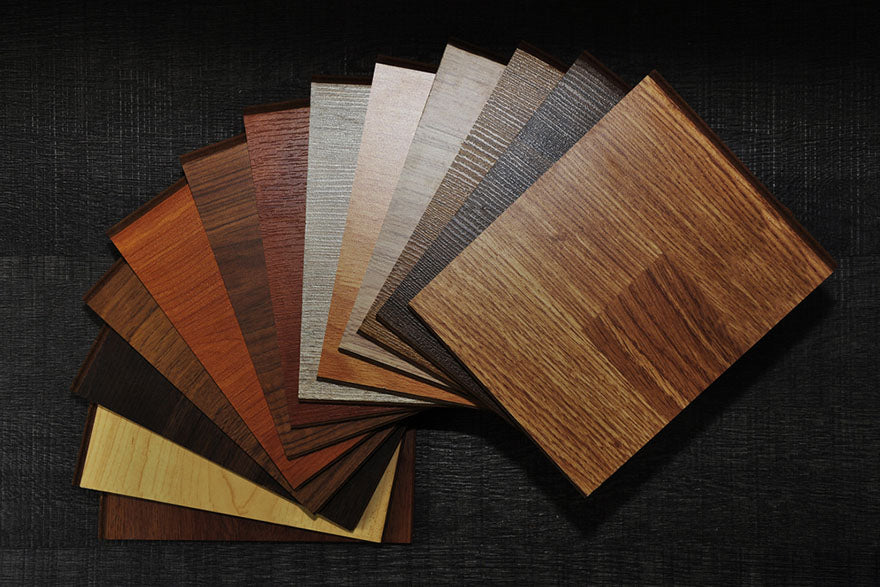
How to Cut LVP Flooring
Source: Kingsman Asset/Shutterstock.com
At Wholesale Cabinet Supply, our luxury vinyl plank flooring (LVP) offers the look of traditional wood flooring in a more durable, versatile, and affordable format. It is also easier to install than most other types of flooring, making it a popular choice for new construction and remodeling projects. The popular click-together convenience of some LVP flooring makes it a good DIY project. Before starting, learn how to cut LVP flooring for the most professional results.
Shop for Vinyl Plank Flooring NowSTEP 1: SELECT YOUR LVP FLOORING
When selecting the right flooring for the job, look for style and quality. We have many types and designs available, such as simulated wood, natural stone, and ceramic. Some materials are thicker or more durable than others. Many are completely waterproof so that spills won’t dribble down to your subfloor.
Having so many choices may complicate your final decision, so use these criteria to help narrow your options:
- Determine whether the flooring matches the style and design of your other fixtures, such as European cabinets in your kitchen.
- Stay within your budget to avoid cost overruns.
- If you plan to install LVP yourself, choose a product that is easy to work with.
- Order a sample of your final selection before committing to the purchase.
- Ask our flooring experts to help you determine how much flooring to order.
STEP 2: LET YOUR LUXURY VINYL FLOORING ACCLIMATE
Before making a single cut, lay out your new flooring in the room where you plan to place it. Let the planks acclimate to their new environment for 24 to 48 hours. This will allow them to relax. When it’s time to cut and install your new flooring, it will already have adapted to the ambient temperature, minimizing any expansion or shrinkage later.
STEP 3: CREATE A LAYOUT AND PLAN YOUR CUTS

Source: SimpleBen.CNX/Shutterstock.com
If possible, lay the planks in place before cutting and installing. If the space makes this difficult, draw a layout plan on graph paper, following the manufacturer’s installation guide. When you need to cut a section of LVP flooring, be sure to remeasure the placement and the material first. This will help you get a precise result.
STEP 4: MARK YOUR CUT
For a simple cut across the plank, mark your measurement, and then use a square to draw your cutting line. For a more complex cut when you need to fit the flooring around an obstacle such as raised panel kitchen cabinets or a heating vent, create a template. Using cardboard, trace the outline of the obstacle where it meets the floor and cut along the lines. Then, use your template to mark cuts on the plank itself.
STEP 5: CUT THE LVP FLOORING
Put on your gloves, safety glasses, and particle mask before cutting the material. Use one of the following methods for the actual cut.
Score the line several times with a sharp utility knife and square. Then, snap the scored plank across a hard surface, such as the edge of a table. If you do not get a clean cut, your scored line was not deep enough. For a cutout shape, combine the use of a hacksaw with the scoring method.
Use your jigsaw or flooring cutter as an alternative to scoring and snapping. For a more precise result, make a few practice cuts on extra material first.

Source: SimpleBen.CNX/Shutterstock.com
ADDITIONAL TIPS FOR SUCCESS
A sharp utility knife is essential when using the score and snap method. Change the blade often to avoid miscuts. If you opt for the jigsaw alternative, use a fine, finishing blade for best results. Check the package to confirm the blade will work for LVP flooring. Before installation, sand your cut edges lightly by hand with fine-grained sandpaper.
WC SUPPLY CAN HELP
When it comes to LVP flooring, our experienced sales reps are here to offer advice and answer your questions every step of the way. We want to make sure your new flooring exceeds your expectations. Following these steps will get you the professional results you’re after, so get in touch with us today to get started.


