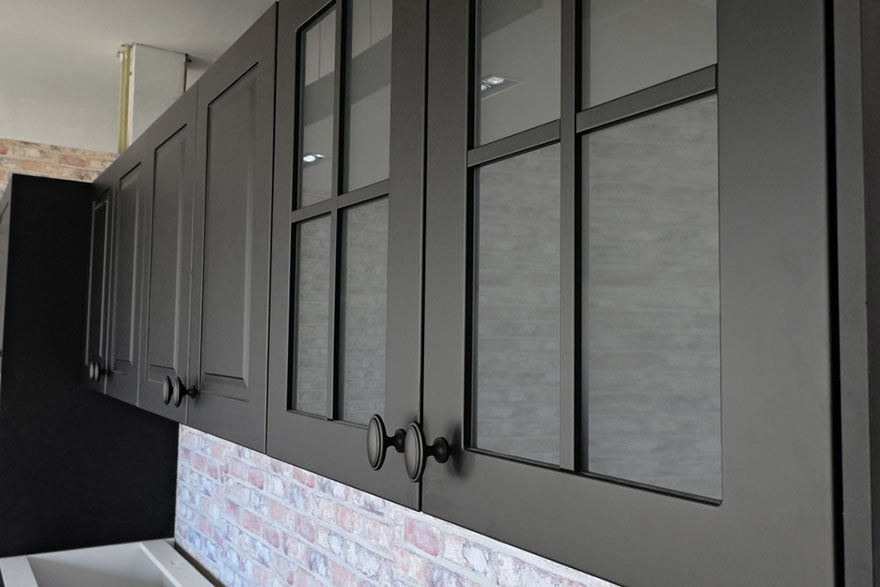
How to Hang Kitchen Cabinets
Source: Papah-kah/shutterstock.com
Kitchen cabinets are a great way to keep your kitchen clean and organized. However, kitchen cabinets must be installed properly to ensure they can safely hold the weight of your items and work as smoothly as possible. Whether you’re hanging your own cabinets or simply trying to understand the process, keep reading for a step-by-step guide to cabinet installation.
1. Choose the Right Cabinets for Your Space
The first step to installing your kitchen cabinets is actually selecting and purchasing the right product. Explore different cabinet options from The Wholesale Cabinet Supply Company with various stain and color options, as well as more traditional or modern designs. Americana cabinets and Skyline cabinets are traditional style choices with a range of stains and finishes that allow you to further customize your space.
Shop Skyline Cabinets2. Gather the Appropriate Supplies
To hang your own kitchen cabinets, make sure you have all the necessary supplies. Check to see what's included with your cabinets first, as tool requirements can vary based on what's already included. Typically, you’ll need the following:
- Cordless drill
- Screwdriver
- Hammer
- Tape measure
- Bubble level
- Compass
- Utility knife
- Pencil and/or chalk
- Framing square
- Ladder
- Shims
- Screws
- Clamp
3. Mark Your Walls With Appropriate Measurements
Begin by identifying the highest point in the floor. From there, measure up to about 48” and make a pencil mark on the wall. Use your level to draw a horizontal line that will serve as a guide from the top of the lower cabinets.
From that horizontal line, measure upward to create the line for the bottommost end of the upper cabinets. The general rule of thumb is for the bottom of the upper cabinets to be about 54” from the ground to give you about 19” between your countertop and the upper cabinets. Use your level to measure across and create horizontal lines for both the top and the bottom of the upper cabinets. Once your guidelines are drawn, label the location of the RTA cabinets and appliances, as well as the studs in the wall.
Browse RTA Cabinets
Source: Estrada Anton/shutterstock.com
4. Install the Upper Cabinets
To install the upper cabinets, you will position them based on your lines and drill them into the wall. Use the appropriate screws to drill into the drywall and studs. To aid with holding the cabinets in place, you may install a ledger or long screws. It’s also helpful to have a helper on hand.
Once you install the first and second cabinets, it’s time to connect them. Use a clamp, make sure the cabinets are level and plumb and use shims behind the cabinets as needed to ensure they are flush and even. Connect all of the upper cabinets and adjust screws as needed to achieve the proper fit.
5. Install the Lower Cabinets
Once your upper cabinets are in place, you can focus on the lower cabinets using the same process. Line the first cabinet up using your guideline, ensure the cabinet is level and drill in the appropriate screws. You may need to use shims to address bows in the wall.
Clamp, drill and fasten all of the other lower cabinets and use shims as needed to ensure they are even with one another and level from front to back and side to side.
6. Attach Molding, Fillers and Valence
Once both sets of cabinets are installed, attach all additional components. This may include molding, a valence or fillers. This is when a brad gun will come in handy. Fillers and end panels will help ensure there are no exposed areas or gaps between end cupboards and the walls. You can also fill any holes with putty that matches the color of your cupboards.
7. Attach Doors and Hardware
Once finished, you can attach all your cabinet doors, drawers and hardware. The knobs, latches and door pulls will put the finishing touches on your new kitchen space. Keep in mind, saving these items for last will help prevent damage to them during installation.

Source: ungvar/shutterstock.com
Final Thoughts
Cabinets are an essential component of all kitchens, giving you ample storage space for dishes, small appliances and much more. There are many options to choose from, including painted and stained cabinets and rustic and modern designs. Once you find the perfect set for your kitchen, you can follow the above steps for hanging cabinets for a better understanding of how to complete installation in your home.


