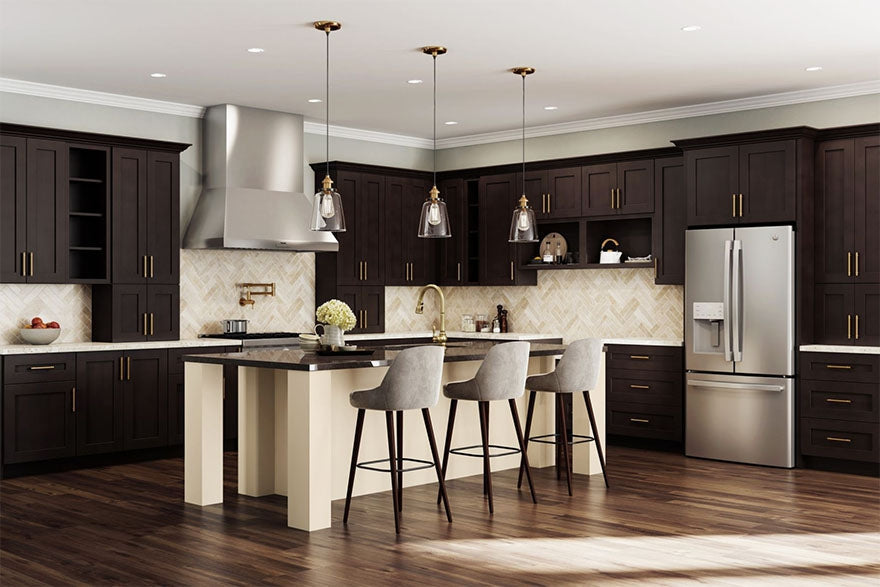
An Informative Guide: How to Stain Cabinets
Let’s face it — cabinets get old. Over time, frequent use and even poor construction can cause them to wear down, warp or break. When it comes to cabinets that have been stained, you’ll need to keep up with their maintenance to ensure that they stay in pristine condition. But, say you just purchased a fixer-upper and realized the cabinets were in good condition. They just need a good staining. Here’s how to stain your kitchen cabinets!
First Things First: Know When to Fold
That’s right — sometimes you just need to replace your cabinets. If hinges are broken, the cabinets are extremely outdated or they’re missing entire doors, you should replace them. If you’re still looking for a cabinet that has that stained wood look, consider our Woodline Cabinets. They have a beautiful wooden finish that looks like they were stained the day before you received them — and they’ll continue to look that way for years to come. The best part? You won’t need to worry about staining ever again. That’s right! Our Woodline Cabinets just look stained. A classic look, but without all the fuss. They’re perfect for busy families or professionals who want a traditional kitchen without the hassle of maintaining it. Order a set of cabinet samples today!
Cabinet Samples Help You Envision Your Dream KitchenStaining Your Cabinets Step by Step
If you ultimately decide you want to stain your cabinets instead of replacing them, there are some steps you need to take in the process to ensure that you don’t ruin your kitchen or your cabinets. Here’s how:
-
Clean your cabinets out. Cabinet stain is strong. It’s basically a long-lasting paint that seeps into the wood grain. The chemicals and ingredients in wood stain can create harmful fumes, but imagine what it can do to any food or cookware if they get exposed. Clean out your cabinets prior to starting your cabinet staining process. This will ensure that your food and utensils stay clean and healthy for later use.
-
Cover and protect everything else. Tarps are always a good idea, so lay them over counters to help protect the surface. Some counters are porous, which means they absorb liquids — and with the ingredients in wood stain, that could seriously destroy your counters.

- Remove the doors and drawers. Removing the doors and drawers from the cabinets helps to provide better access to every surface in order to properly clean, strip and stain the pieces.
- Wipe your cabinets down. Now that you’ve cleared the products inside your cabinets and covered the rest of your kitchen, give your cabinets a good scrub. Use a damp cloth and even a duster to really get all the nooks and crannies of your cabinets. You want a blank slate to work with as you stain the cabinets.
- Strip the cabinets. If your current cabinets are stained, use a stripper to get rid of the current stain. This might take a while, so settle in and get to work. You can also use an electric sander with some heavy sandpaper to strip away the stain. Of course, this method takes much longer, but you’re less likely to accidentally use too much or go too far.

-
Condition the wood. Much like stripping or bleaching your hair, the wood on your cabinets needs rejuvenation. The quality of the wood can decrease greatly if you don’t condition it before applying fresh stain. Make sure to use a quality wood conditioner that will really allow the stain to be applied evenly and not splotchy as well. Just let your cabinets dry completely before moving on to the next step.
-
Stain your cabinets. Now for the part you’ve been waiting for! After your cabinets have dried from putting the conditioner on, it’s time to start staining. If you’ve never used the stain before, make sure you test it in a corner of the cabinet prior to using it over the entire door or base. If you like the color, then you can start to apply it in broader strokes. Make sure to use a paintbrush or soft rag to apply the stain evenly, getting into all the little cracks and crevices. Follow the direction of the grain as you do this. Try to apply as light of a layer as possible. Let that layer dry completely and continue following this process until the stain is as dark as you would like. Be sure to wear a mask and protective eyewear so that the fumes don’t harm you. If you want to add multiple layers of stain, make sure to scuff the cabinet slightly with a metal scrubbie so the next layer has something to attach to.
-
Rehang your doors. After the last layer of your stain is completely dry, seal the cabinets if you need to and then rehang the doors. Congrats! You’ve successfully stained your cabinets. Make sure to clean up your mess and remove any of the protective gear, such as tarps, that you put down for your kitchen.


