How to Assemble RTA Cabinets (and 3 Things to Keep in Mind)
Source: ungvar/shutterstock.com
You've used free kitchen design tools to pick out ready-to-assemble (RTA) cabinets, having made the smart decision to use them instead of custom cabinets. Now, they've arrived, and you're finally ready to put them together. Here's how to do it!
How to Assemble RTA Cabinets
Before you get started, make sure you have all the tools you need:
- Worktable
- Damp cloth
- Drill or driver
- Magnetic driver bit holder
- Phillips bit
- Rubber mallet
1. Identify the Parts
Open the box for your cabinets. If you need to use a utility knife, don’t insert it too deeply, so you don't scratch any parts.
Remove all the parts and hardware, and review the list at the beginning of the included manual to ensure you have every item you should, including but not limited to:
- Two sides
- One bottom
- One rear panel
- Four support rails
- One adjustable shelf
- Dowels
- All other necessary hardware
To identify the left and right side pieces, look for the 1/4-inch grooves by the rear edge of two of the panels. To distinguish the bottom from the top of the side panels, look for the holes drilled by the bottom edge.
2. Glue the Panels Together
Take the two side panels and lay them flat so the dowel holes point upward and the rear edges face one another. Then, squeeze a bit of wood glue into each of the holes on both panels.
3. Install the Bottom Board
Align the 1/4-inch grooves on the left side and bottom board with one another. Insert all the dowels into their corresponding holes on the side panel.
Take your rubber mallet, and use it to lightly tap the bottom edge to push the dowels completely into their holes. Take a damp cloth, and wipe away whatever excess glue remains.

Source: Breadmaker/shutterstock.com
Explore Our Selection of Ready to Assemble Cabinets4. Install the Support Rails
The support rails are drilled universally, so you can install them facing either way.
Install two support rails into the dowel holes — two on each side — along the upper edge of the left side. Install two more support rails into the holes along the rear edge of the panel, directly behind the groove. Using the rubber mallet, lightly tap each support rail into place securely.
5. Insert the Rear Panel
Take the rear panel and fit it into the groove on the bottom piece. Slide it down to fit into the groove in the left side piece.
6. Connect the Right Side
Now, take the right side panel and flip it over to align its dowel holes with the dowels in the support rails and bottom piece. Ensure you allow the rear panel to fit into the groove down the right side piece. Work quickly here so that you don’t drip glue everywhere.
Tap along the side with the rubber mallet, and wipe off any glue remaining using your damp cloth. Secure the entire cabinet using the lag screws provided with the RTA cabinets.
7. Connect the Legs
Insert each leg into one of the four pre-drilled holes in the bottom piece. Use the provided screws to secure them in place; each leg will have four screws.
8. Insert the Adjustable Shelves
Insert each shelf pin into the holes on the sides at your chosen heights. Slide each shelf onto its corresponding pins.
9. Assemble and Install the Drawers
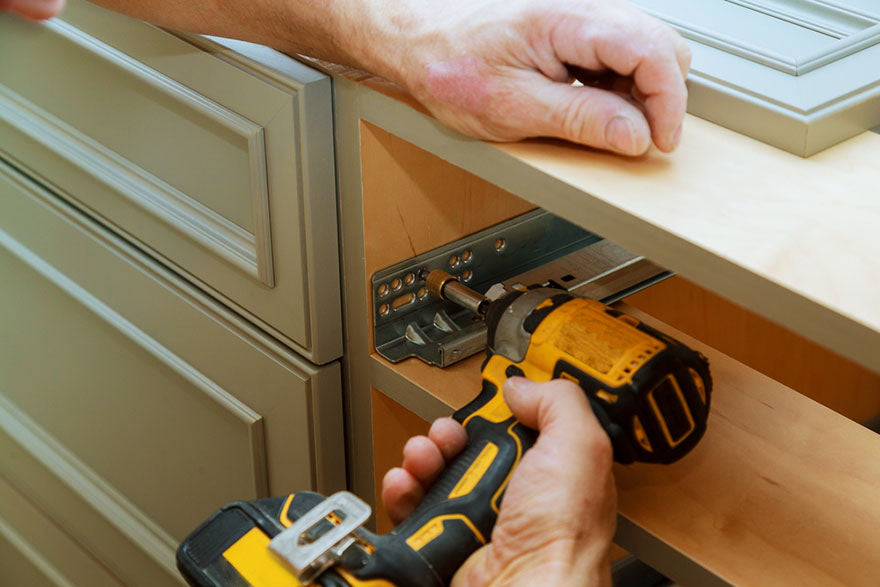
Attach two brackets each to the front and back of the drawer using six provided screws on the back and four on the front. Slide the two sides onto them. Insert the bottom into the side grooves and the front by sliding the brackets into the sides until you hear a click. Finally, use the provided screws to secure the bottom, back and sides.
To install it, attach the left and right drawer glides to their corresponding sides, with two screws for each glide. Place the drawer onto them and push it in until it locks.
10. Hang the Door
With the door flat and the two holes facing upward, insert the hinge and push its cover until it’s secured. On the left side, attach the hinge plates to their corresponding holes. Align the arms and plates, then push the back of the arm until it clicks into place. Peel two rubber bumpers, and stick them to the door’s inner corners.

Source: ungvar/shutterstock.com
Browse Our RTA Cabinets Collection3 Things to Keep in Mind When Assembling RTA Cabinets
1. Clear a Workspace
Prepare yourself and your space for all the boxes that will show up when your RTA cabinets are delivered. Figure out before they arrive where you’re going to place them before you unpack them and where you’re going to put them together. Make space in those areas ahead of delivery time, if necessary.
2. Use the Right Screws
Note that different screws correspond with different holes. Review the diagrams of parts and hardware in the manual that comes with the cabinets to be sure you know which are which.
3. Buy Your RTA Cabinets From the Right Place
Choose your new cabinets by browsing our kitchen cabinet samples that range in finish and style. Ensure you get the widest selection and highest quality of ready-to-assemble cabinets at the most affordable prices and from the most knowledgeable team!


